Pages

Showing posts with label Entertaining. Show all posts

Oct 9, 2013

Delicious No-Knead Artisan Bread


Last week was my turn to host book club, and I wanted to make a delicious meal for my "lady friends" (that's what my children call my book club friends).  I was making one of our favorite soups and a great salad; seemed to me like a nice, crusty bread would be perfect with that!

So I did what people do nowadays; I googled "artisan bread recipe".

I found a recipe here that seemed like a good one, and pretty easy. I made it that afternoon and got rave reviews at book club that night!

So here I will share with you the recipe that belongs to Natasha at Natasha's Kitchen.  Even if you're not really a bread maker, or a baker, you can do this!  It's only got four ingredients, and seems to be pretty much fool-proof!  I hope you give it a try.

Here's what you do (with apologies for the grainy photos; it was early this morning and I just couldn't get enough light!):

First, add 1 1/2 cups of very warm water to a large bowl. Sprinkle in 1/2 tablespoon of salt and 3/4 tablespoon of yeast. 

Stir and let it sit for a minute or two.  It will look like this.

Gently stir it again, and then measure out three cups of regular flour and add to the liquid mixture. 


Quick tip:  do you know the correct method for measuring out flour in baking?  

Use a spoon to lightly fill the cup measure.  Then use the straight side of a table knife to level the flour.  You never want to pack down the flour when you're baking.  Just in case you didn't already know!

Using a wooden spoon, stir the dough until it forms a rough ball, as shown.  

Cover the bowl with a loose-fitting lid or with plastic wrap. Allow the dough to rise for 2 hours.

Quick tip:  Yeast rises better in a warm-ish environment.  If my house is drafty or cool on a baking day, I will turn my oven to a low temperature, and sit the dough bowl on the oven to rise.  It gives it just enough warmth to rise nicely without taking too long!

Here is the dough after rising 2 hours.

Now, spread a piece of parchment paper on the counter and generously dust it with flour. 
 
Scrape the dough from the bowl onto the floured surface. Using generously floured hands, fold the dough over once, and then fold again.  Gently form the dough into a round shape (this will be the shape of your loaf!).

Allow the dough to rise again, uncovered, for 45 minutes.

When it is done rising, cut three slits in the top of your bread using a very sharp knife.  This will make your bread picture-perfect!  Place the bread, parchment paper and all, on a flat baking sheet.
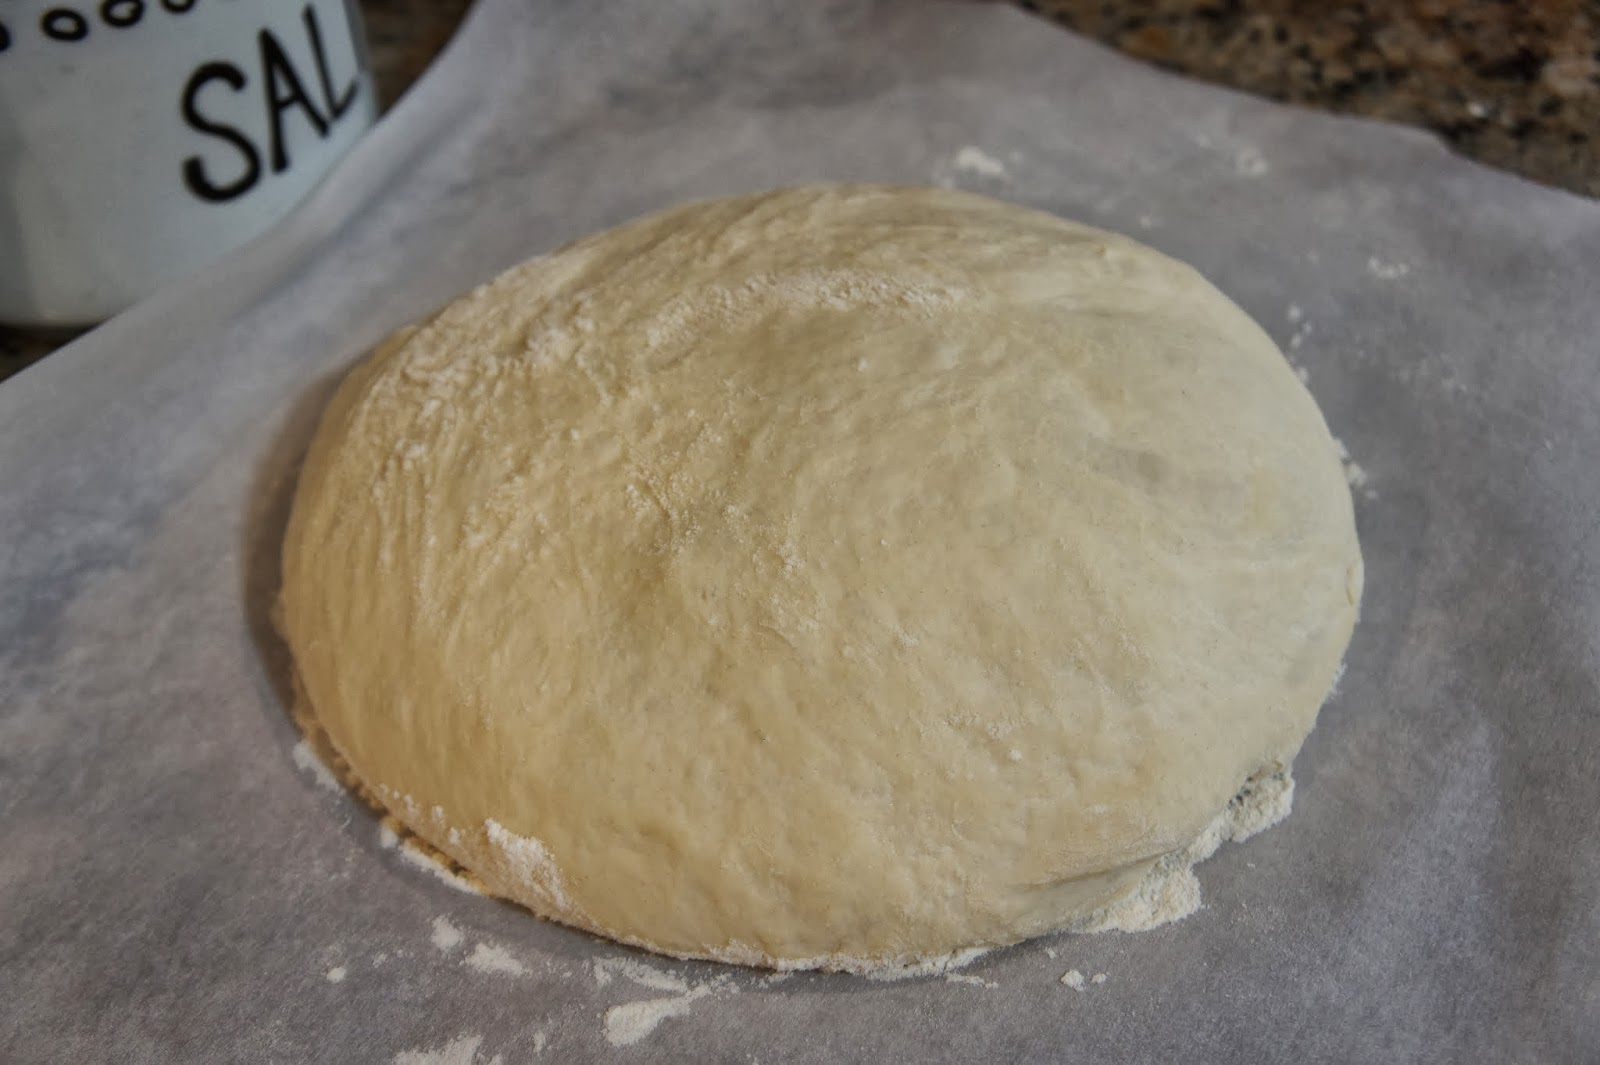


Now it's time to bake!  Preheat the oven to 450 degrees, and make sure you have two racks to work with.


On the bottom rack, place a metal baking dish (as seen in the photo above) filled with 1 cup of water.  Place the bread on the baking sheet on the top rack and bake for 20-25 minutes.

And here you have it!  This loaf turned out a bit browner than my first because the doorbell rang just as I should have been taking it out of the oven.  However, the crust is just the right crispness!

The end result is a soft, delicious bread, great with soup, or butter, or as a sandwich.  In fact, my kids have been asking me to make this again.  Won't they be happy when they get home from school today?!

I hope you enjoy this as much as we have!


Sep 23, 2013

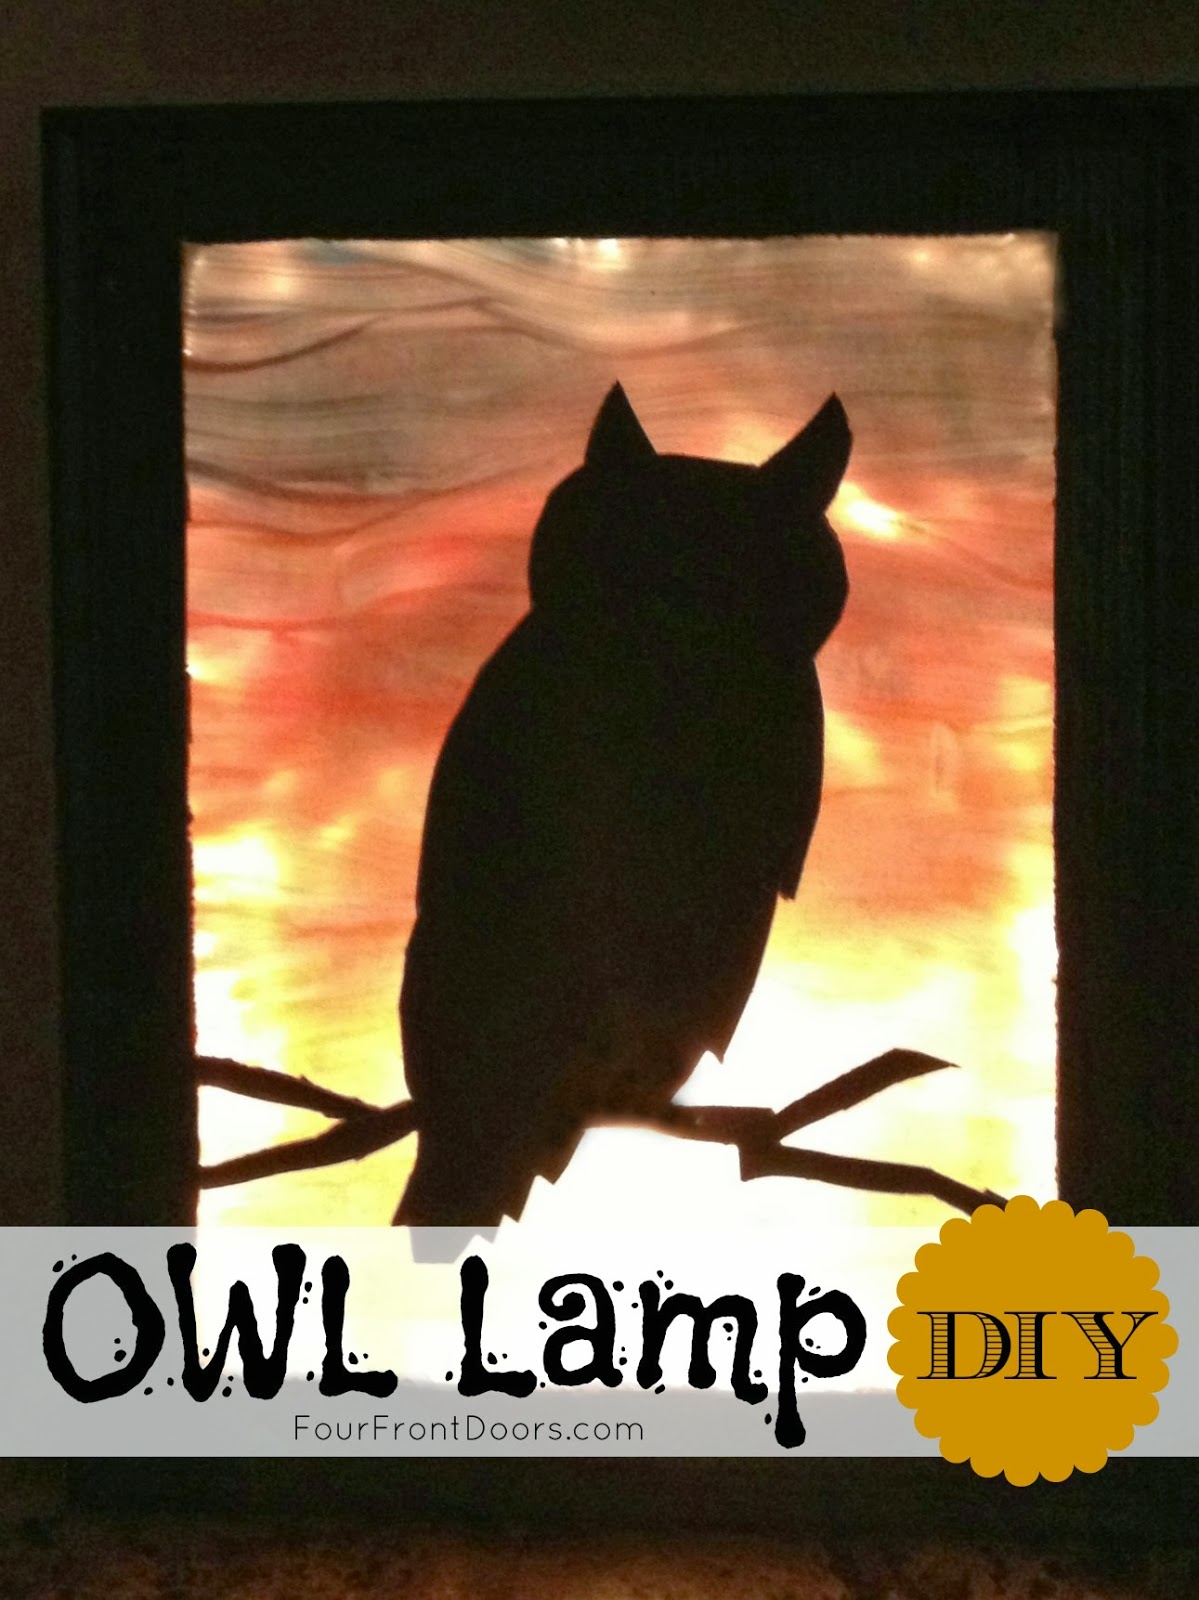
Owl Lamp DIY


I love owls, and I think Halloween is so much fun.  That inspired me to create this owl lamp.  This is an easy project that looks impressive when finished.  

To make your own, you'll need:

  • 11x14 Picture Frame from Dollar Store
  • Disposable Cake Pans from Dollar Store (usually come 2 in a pack)
  • Single Clip Light from Dollar Store
  • Wax Paper and Parchment Paper
  • Mod Podge Glossy
  • Food Coloring in red, yellow, blue
  • Paint Brush
  • X-Acto Knife
  • Wax Paper
  • Duct Tape

1.  Spoon Mod Podge into paint wells or plastic cups.  

Add 2 drops yellow to one, two drops red to one, one drop each red and yellow to one, and two drops blue to one. Gently stir with plastic spoon or toothpick to blend color.

2.  Take the glass pane out of the frame.  Place it on a sheet of parchment paper.  Starting with the yellow, paint the bottom portion of the glass with long wavy strokes.  Then paint up to about the halfway point with orange, and the top half with red.  Let it dry just enough to get tacky.  This way you can go back over it for better coverage.

3.  Go back over the yellow, orange, and red, and go over the top with blue.  Use the brush to blend everything in.  Don't worry about visible brush lines, because for this project they're actually a good thing, since it's going to represent the sky and will add interest.  And don't worry if you're not good at painting.  You don't have to be!  I even let my six-year-old help with this part, so you can do it too.

 4.  Put in oven that's been preheated to 175 degrees.  I just left mine on the parchment paper and put the whole thing in.  Leave it in about 30 minutes.  The paint will become transparent and will get quite a bit darker.

5.  While that's in the oven, you can do your cutout.  I printed off a silhouette of an owl from the internet.  You can use any cardboard or card stock to fit, but what I did was use the cardboard insert that comes with the frame and turned it over to cut.  No worrying about getting the right size, and the opposite side was black, which is perfect!

I marked out a 1-inch border all around, and then cut that out and cut out the owl.  I extended the branches all the way to the border.

 6.  Use duct tape to cover any areas that you might have cut into.  This will avoid light bleeding through when it's lit.

 7.  When the glass is ready, take it out and let it cool.  Then put the cutout into the frame (black side facing out), followed by the glass.  Here you might need a drop of glue or some double-sided tape to stick down the head/body part of the owl.  You don't need much.  Then over that you'll put wax paper.  Push down the tabs in the back of the frame, and duct tape to secure the wax paper.  (Doesn't matter what the back looks like here.)

8.  Get a single clip light.  Mine is from the dollar store, but I think it's a seasonal item, so if you can't find it there, you can get one from a hardware store or online for cheap.  I like this kind of light because you can just flip the switch to turn it off and on.

 8a.  Cut a small hole in the bottom of the cake pan near a short side and in the middle, and insert the light.  I wound up duct taping around the hole to reinforce it.  I only used one pan, but two might work better and give the whole thing more stability.

 8b.  Duct tape the pan to the frame with the light at the bottom, being sure to go all the way around with the tape.

 9.  Plug it in, light it up and enjoy!

 Like it?  Pin it / Share it, please!
Enjoy!


Jul 26, 2013

Bake a Cake IN a Jar

I don't just mean PUT and SERVE a cake in a jar...I mean actually BAKE it in the jar.  No really!  It's SO easy, you don't even know.  Well, after you read this you will.  Super, super easy and so, so fun.  Here's how you do it...

First you'll need mason jars.  I purchased a dozen at my local grocery store.  I chose half pint size because that's the size I wanted.  I've seen recipes that use full pint jars as well.  Really, it's up to you.  Wash your jars thoroughly and allow them to dry. 
Next, mix your cake batter.  Any cake batter will do.  I used our favorite Betty Crocker Yellow Cake mix.  Feel free to make something from scratch (you'll have to explain to me later WHY you would actually do this instead).

Using a narrow serving spoon, fill the jars 1/4 of the way. (You'll notice that in the pictures, my jars were a little more full.  This ended up being too full and didn't leave enough room at the top after they baked.)  Wipe any excess from the sides.  
Place the jars on a cookie sheet and bake them according to the instructions for cupcakes. (approximately 13-15 minutes based on my experience).  I cooked just 4 at a time, just to make sure I was doing it right, but you could fill the cookie sheet if you wanted to.  Allow them to cool completely.  (Notice how these are too full?  I just cut some off the top to make room and made the next batch smaller.)

Now it's time to let your imagination go wild!  The rest of the jar can be layered with all sorts of toppings, from fruit to candies and frosting to decorations.  For my daughter's cakes, I decided to go with a strawberry shortcake style jar.  I sliced fresh strawberries and tossed them with a bit of sugar.  I made homemade whipped cream (This is my favorite, tried and true recipe.  You'll see it at the bottom of the page, after the shortcake recipe.)
Once they were full, I used scraps of fabric I already had to cut squares and decorated the tops with them.  
I've seen others use decorative paper, stickers, glitter or anything you like to add a little something.  You can tie ribbon and create personal labels.  They can be as fancy or as rustic as you choose. 

This was a HUGE hit for my daughter's birthday. 
I will do this again soon, maybe for a dinner party or book club. Oh, check out my other "in a jar" posts for jam and butter.  Apparently, food in a jar is my schtick!!


Jul 17, 2013

UPDATE: New Cake Carrier!

Remember the awesome vintage cake carrier I found last month?  I wrote about it here.

Well, last week my friend and I were at World Market and I saw this!

It's a brand-new, pretty cake carrier!  With space under the lid for a pie or cupcakes or utensils or what-have-you. 


One thing my vintage carrier has over this one is that mine has additional storage space UNDER the cake plate.  But this one is really pretty and Frenchy.  There was one left in our store, but you might be able to find one here.  

These dessert carriers make me want to make desserts!  I'm thinking of trying this Lemon and Strawberry Sponge Cake. Yum! 


Jul 8, 2013

Grandparent Gift Wrap

I had a little present for my dad, and the gift bag I had just wasn't cutting it.  So I got some markers and stickers and set my kiddos loose.

I would recommend using permanent markers if the bag has a glossy finish like this one, or use a matte finish if you're going to use regular markers.  This took a long time to dry with regular markers, but the kids had fun making it.

Grandparents always seem to like something that shows the kids are actually involved in the gift giving, and this really fit the bill.  My dad was very pleased with his gift and with the packaging it came in!


Jul 1, 2013

Easy DIY Paper Boxes

You can make these little boxes with little effort and supplies.  Customize the colors to coordinate with the occasion, like I did here with the patriotic July 4 red, white and blue.


Supplies:

  • One 8 1/2 x 11" sheet of paper for each box (I used paper with colors on both sides, but you can use whatever you have on hand.)
  • Self-stick rhinestones or other embellishments
(That's right -- no scissors, glue, or tape needed!)

I used the instructions in this graphic from duitang.com.  It's not in English, but you don't really need the words to follow along.

Use a light to medium thickness of paper.  Cardstock would be really hard to work with, because it gets too thick at the folds to get crisp lines.

After I made the boxes, I stuck a few little rhinestones on, and that's it!