

Last week was my turn to host book club, and I wanted to make a delicious meal for my "lady friends" (that's what my children call my book club friends). I was making one of our favorite soups and a great salad; seemed to me like a nice, crusty bread would be perfect with that!
So I did what people do nowadays; I googled "artisan bread recipe".
I found a recipe here that seemed like a good one, and pretty easy. I made it that afternoon and got rave reviews at book club that night!
So here I will share with you the recipe that belongs to Natasha at Natasha's Kitchen. Even if you're not really a bread maker, or a baker, you can do this! It's only got four ingredients, and seems to be pretty much fool-proof! I hope you give it a try.
Here's what you do (with apologies for the grainy photos; it was early this morning and I just couldn't get enough light!):
First, add 1 1/2 cups of very warm water to a large bowl. Sprinkle in 1/2 tablespoon of salt and 3/4 tablespoon of yeast.

Stir and let it sit for a minute or two. It will look like this.

Gently stir it again, and then measure out three cups of regular flour and add to the liquid mixture.


Quick tip: do you know the correct method for measuring out flour in baking?
Use a spoon to lightly fill the cup measure. Then use the straight side of a table knife to level the flour. You never want to pack down the flour when you're baking. Just in case you didn't already know!
Using a wooden spoon, stir the dough until it forms a rough ball, as shown.

Cover the bowl with a loose-fitting lid or with plastic wrap. Allow the dough to rise for 2 hours.

Quick tip: Yeast rises better in a warm-ish environment. If my house is drafty or cool on a baking day, I will turn my oven to a low temperature, and sit the dough bowl on the oven to rise. It gives it just enough warmth to rise nicely without taking too long!
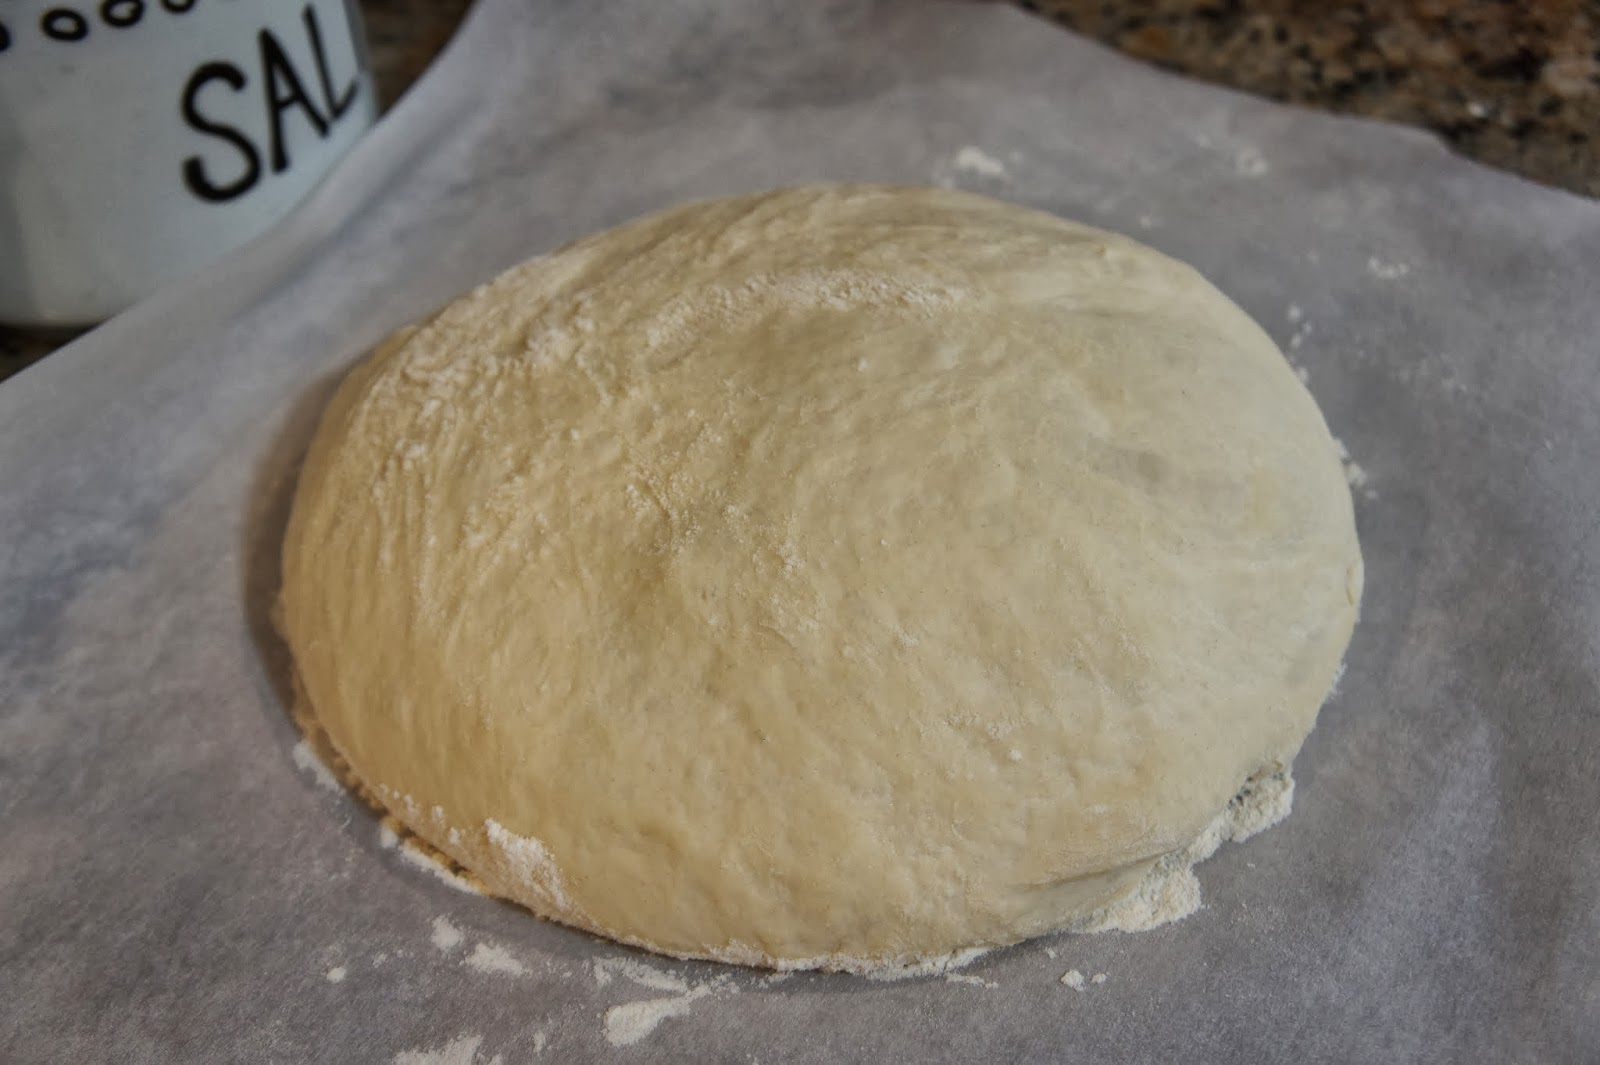
Here is the dough after rising 2 hours.

Now, spread a piece of parchment paper on the counter and generously dust it with flour.


Allow the dough to rise again, uncovered, for 45 minutes.
When it is done rising, cut three slits in the top of your bread using a very sharp knife. This will make your bread picture-perfect! Place the bread, parchment paper and all, on a flat baking sheet.

Now it's time to bake! Preheat the oven to 450 degrees, and make sure you have two racks to work with.
On the bottom rack, place a metal baking dish (as seen in the photo above) filled with 1 cup of water. Place the bread on the baking sheet on the top rack and bake for 20-25 minutes.
And here you have it! This loaf turned out a bit browner than my first because the doorbell rang just as I should have been taking it out of the oven. However, the crust is just the right crispness!
.jpg)
The end result is a soft, delicious bread, great with soup, or butter, or as a sandwich. In fact, my kids have been asking me to make this again. Won't they be happy when they get home from school today?!
I hope you enjoy this as much as we have!

Sounds yummy.
ReplyDeleteAs one of the book club "lady friends" I can attest that this bread is AMAZING! I can't wait to try my hand at making this recipe.
ReplyDelete