

To make your own, you'll need:
- 11x14 Picture Frame from Dollar Store
- Disposable Cake Pans from Dollar Store (usually come 2 in a pack)
- Single Clip Light from Dollar Store
- Wax Paper and Parchment Paper
- Mod Podge Glossy
- Food Coloring in red, yellow, blue
- Paint Brush
- X-Acto Knife
- Wax Paper
- Duct Tape
1. Spoon Mod Podge into paint wells or plastic cups.
Add 2 drops yellow to one, two drops red to one, one drop each red and yellow to one, and two drops blue to one. Gently stir with plastic spoon or toothpick to blend color.

2. Take the glass pane out of the frame. Place it on a sheet of parchment paper. Starting with the yellow, paint the bottom portion of the glass with long wavy strokes. Then paint up to about the halfway point with orange, and the top half with red. Let it dry just enough to get tacky. This way you can go back over it for better coverage.


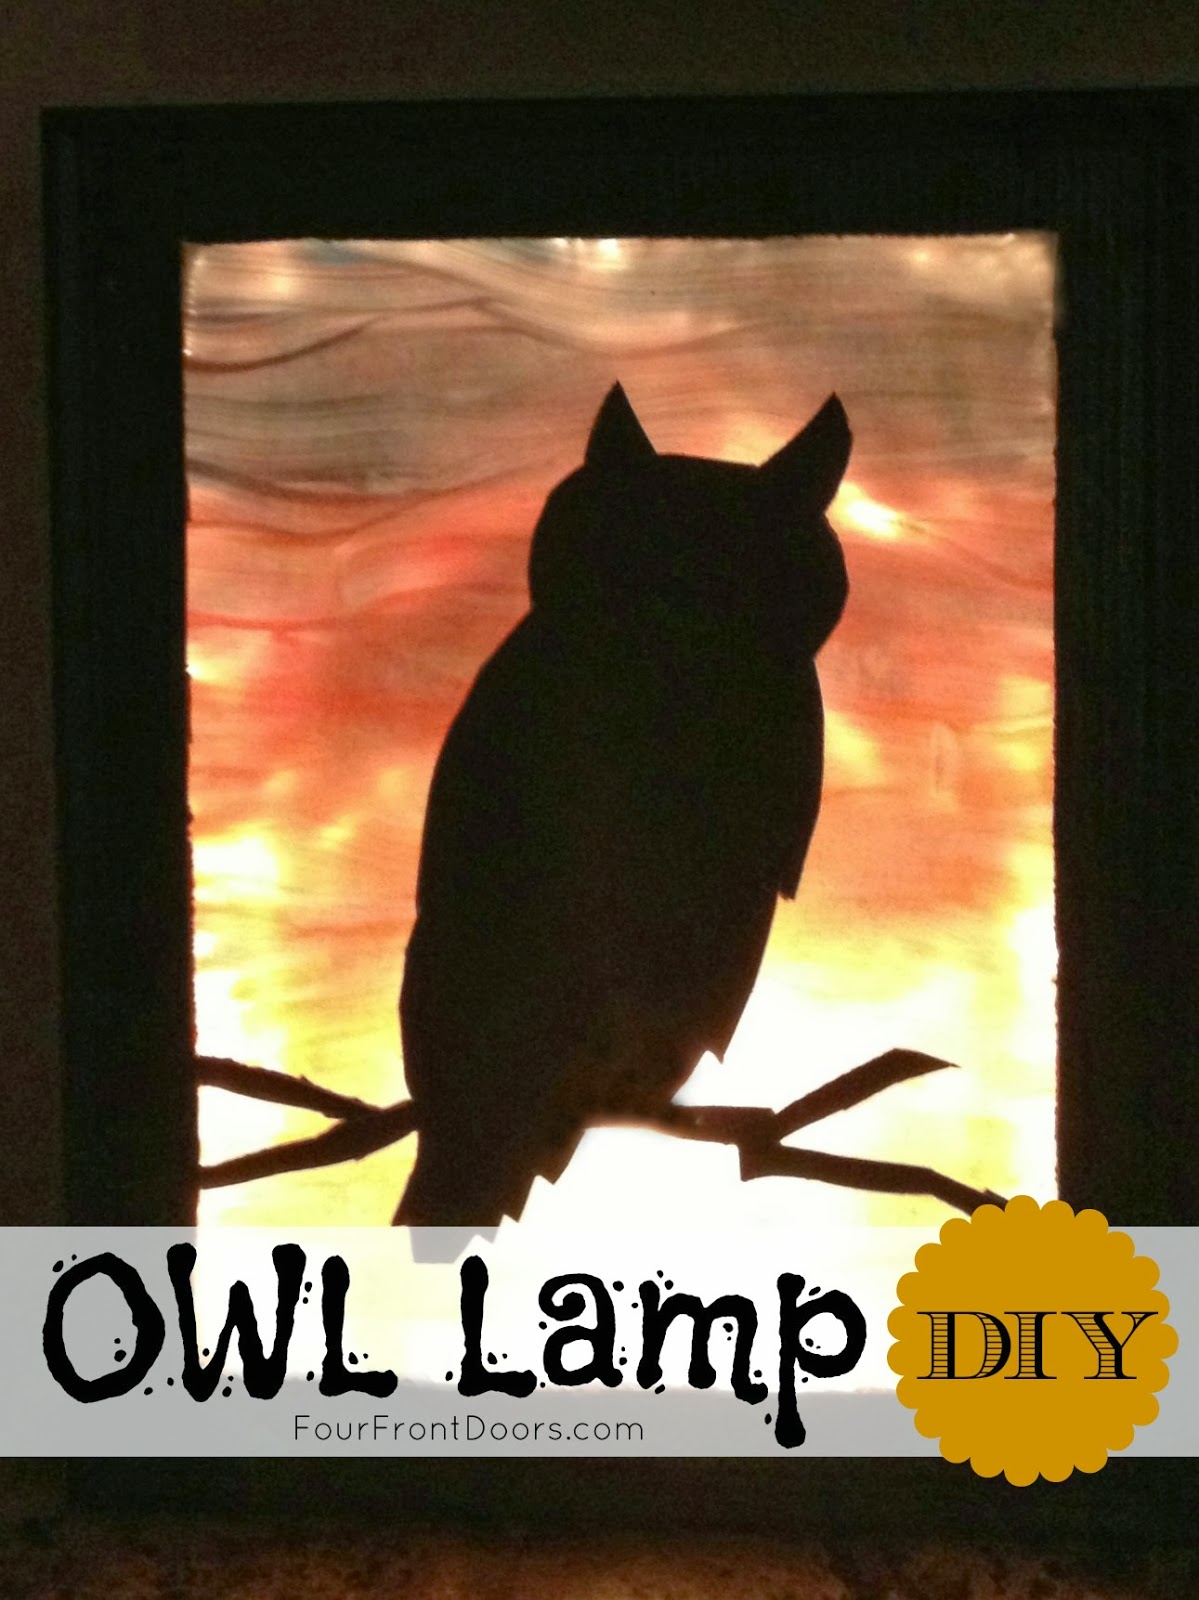
5. While that's in the oven, you can do your cutout. I printed off a silhouette of an owl from the internet. You can use any cardboard or card stock to fit, but what I did was use the cardboard insert that comes with the frame and turned it over to cut. No worrying about getting the right size, and the opposite side was black, which is perfect!
I marked out a 1-inch border all around, and then cut that out and cut out the owl. I extended the branches all the way to the border.


8. Get a single clip light. Mine is from the dollar store, but I think it's a seasonal item, so if you can't find it there, you can get one from a hardware store or online for cheap. I like this kind of light because you can just flip the switch to turn it off and on.


8b. Duct tape the pan to the frame with the light at the bottom, being sure to go all the way around with the tape.


Thanks for sharing...
ReplyDeleteBismi
Wholesale Grocery
FMCG Supplier in Dubai
CHARLOTTE WHERE ARE YOU ?!
ReplyDelete